You guys are LOVING my new funky fireplace (&& so am I!

) so I thought I’d share step-by-step how to create your own because it is SO EASY!
Before beginning, make sure you choose your fabulous Dixie Belle color(s)! You can find them ALL
here, plus everything else you’ll need for this tutorial.

1. First, you are going to clean every part of your fireplace that’s being painted with White Lightening by Dixie Belle. If needed, make sure you sand off any lacquer before cleaning! Dixie Belle is really awesome in that it doesn’t require you sanding before using, but we like to take all precautions to making our final product look it’s BEST. I personally just lightly sanded over my fireplace with a 220 grit sandpaper.
2. Once your White Lightening has dried, clean one more time to ensure you got all the grime and sawdust, etc. cleaned off completely. Next, using Frog Tape, tape off all walls, tiles, etc. that you don’t want your funky, fabulous colors touching.
3. Using a medium synthetic artist brush (you can get these at any craft store or on Amazon), begin applying the first coat of paint, from bottom to top, on the trim ONLY! Repeat for as many coats as needed.
4. Once your trim is dry, using Dixie Belle’s Mini Synthetic Brush, start applying your paint to all other areas, one coat at a time. Always be sure your paint is completely dry before applying next coat. I like to always start at the bottom and work my way up. Do one panel and one section at a time.
5. Once your first coat is dry, repeat step 4 until your fireplace is coated solid and you’re happy with color!
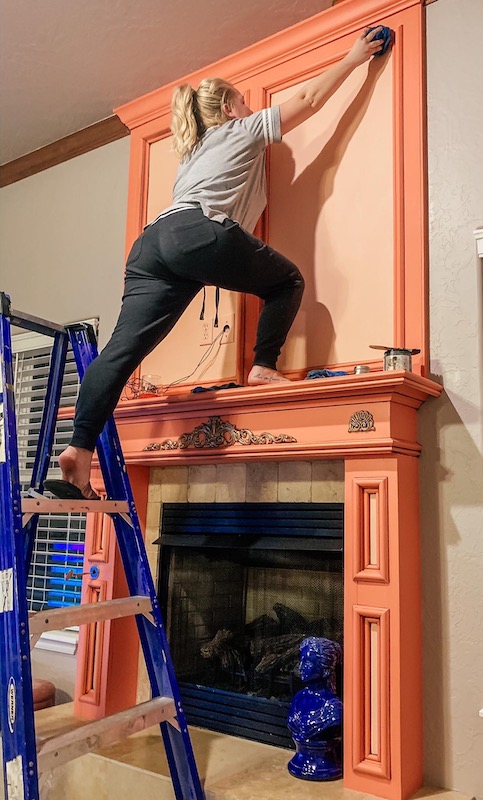
6. If more than one color is desired, now’s the time to add in that second color! As you can see, I went with two colors on my fireplace. I started with Flamingo by Dixie Belle and once it was dry, added Apricot by Dixie Belle inside the panel inserts to compliment it!! Reference back to step 3 for painting second color.

7. Now is the time to apply any finishing touches such as glazes, waxes or decorative trim! If you’re a
Brush with Brittany member, you can find videos with tips and tricks on these steps in those online paint courses.
8. Remove all tape. If your walls have as much texture as mine, you will need to touch up along the edges. Using a square, straight edge artist brush (size 12 is great for this), touch up anywhere on the wall that the paint seeped through. Use the edge of the brush along the fireplace as a straight edge guide. If you need to, you can always tape off the fireplace to complete this step.
9. Once all paint, glazes and waxes are dry, apply Gator Hide by Dixie Belle. This is a water repellent top coat. Trust me–you’ll want this on EVERRRRYTHING! We sprayed our Gator Hide on with our electric sprayer, but it can easily be brushed on with your Dixie Belle Synthetic Mini Brush or applied with a Dixie Belle Sponge Applicator!
10. Let dry.
11. Stare at and enjoy your new funky, fabulous fireplace!!!

I cannot wait to see all of your fireplaces!
Now, onto the tiles 🙂 I will update once mine is completely finished!
**UPDATE**
I not only changed the color once, but twice. 😏
I ended up with Tea Rose by Dixie Belle.
Here is an updated photo of my fireplace now that the tiles are all finished, thanks to my wonderful hubby! (excuse the GIGANTIC TV…also courtesy of my wonderful hubby 😂